 Tattoo Stencil
 Buy me a coffee
Stencil collection
Rose Tattoo Stencils
Compare three rose tattoo stencils, from a narrow rosebud to an open garden rose and a diagonal branch. See which petal gaps hold at print size.
3 designs
Botanical
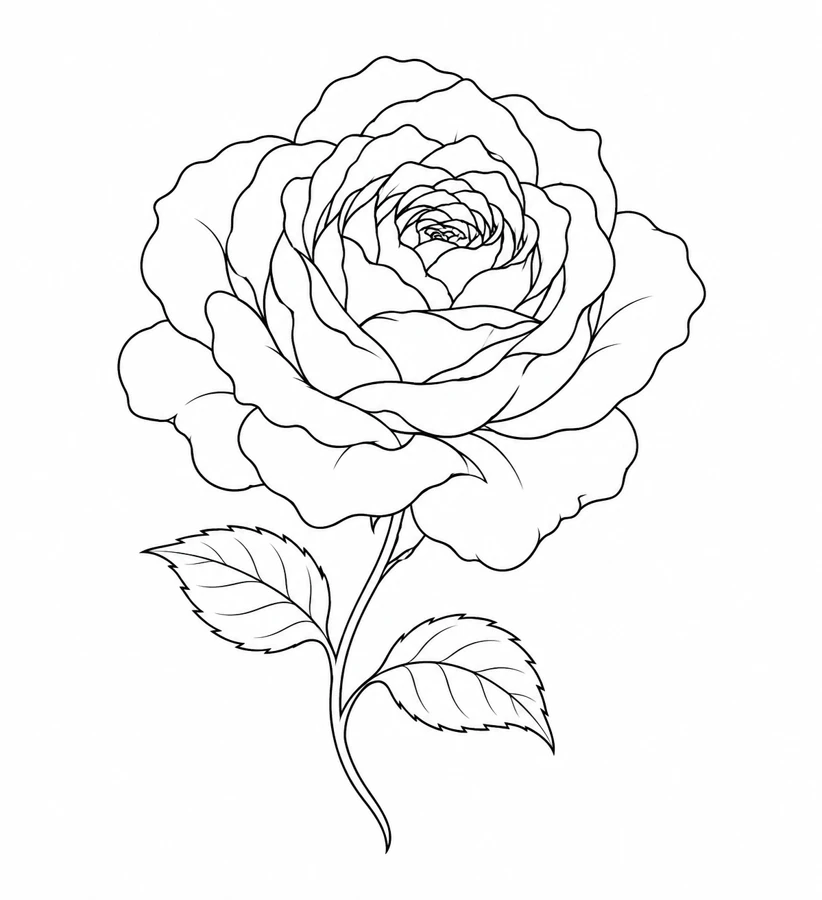
Open Garden Rose
An open garden rose with layered petals, a curved stem, and pointed leaves.
Botanical
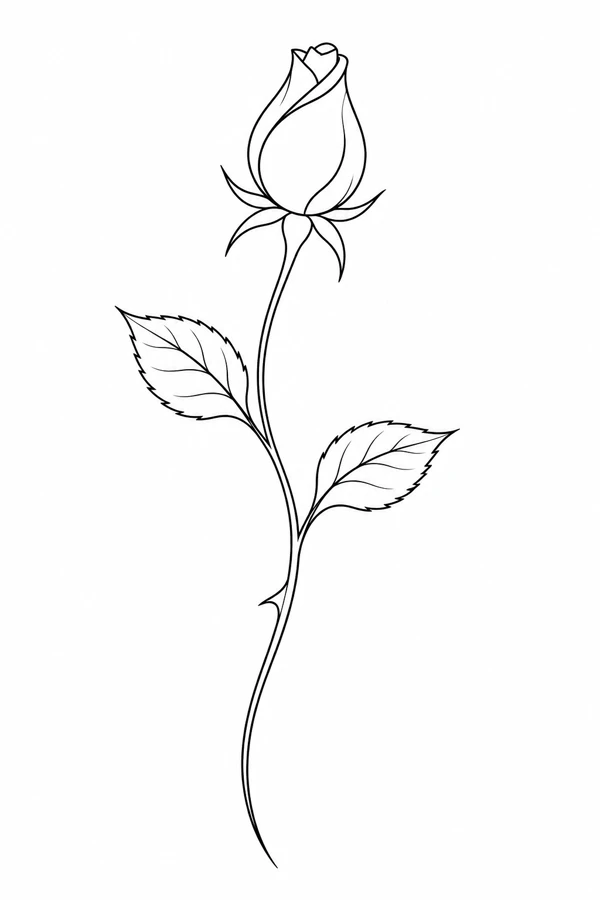
Rosebud
A closed rosebud on a gently curved stem with two leaves.
Botanical
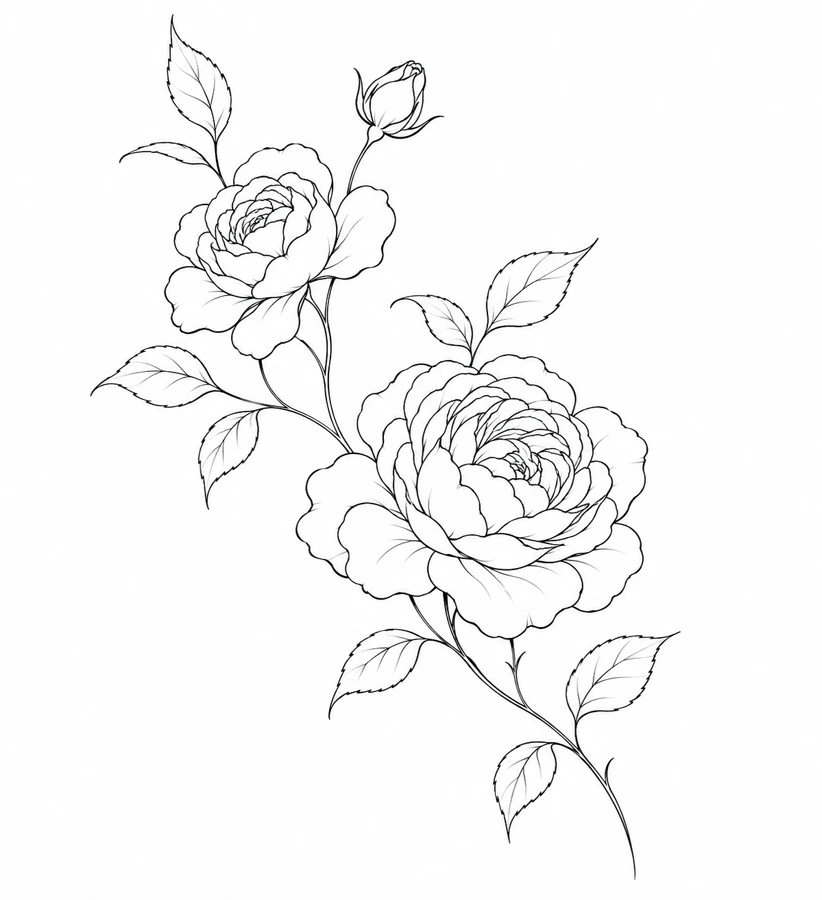
Rose Branch
Two roses and a small bud arranged along a diagonal branch.
How to choose among these rose tattoo stencils
Start with the outline that fits the space you measured. The rosebud has a narrow head and a gently curved stem. Compare it in a tall, narrow paper mockup if you want the stem to guide the eye along the forearm. The open garden rose takes up more width. Its outer petals are easy to distinguish, while the folds around the center need more room to stay separate.
The rose branch gives you a diagonal composition with a larger flower, a smaller flower, and a bud. Lay the paper reference in both directions when comparing placement. Check whether the smaller flower and bud remain distinct from the branch. If those shapes merge, compare a larger proof or simplify a few of the overlaps before you make the final draft.
What to check on a paper proof
Print two proofs of your draft at widths that bracket the space available. For example, if you are comparing a rose around 60 mm wide, you could print 50 mm and 70 mm versions on plain paper. Use the center of the garden rose, the line between the rosebud and stem, or the smallest bloom on the branch as your comparison point.
If petal folds run together, check the open gaps before making the lines heavier. Keep the main petal edges and remove a secondary fold if it competes with a more important boundary. For the PDF, match the selected paper to the printer and use Actual Size or 100%. Bring the best proof and the original reference to your artist to discuss final size and placement.