Tattoo Stencil
 Buy me a coffee
1. Select an image
Start with a sharp JPG, PNG, or WebP image up to 20 MB. If the original is on paper, photograph or scan it first. Under Start with your image, drop or browse for the image file. Choose even lighting and a clearly separated subject.
Leave Remove background on to isolate a subject. Turn it off to keep a clean drawing, a border, or several elements in the same image. If the automatic selection clips a detail, choose Adjust subject, mark what to keep or exclude, and select Use this subject after checking the preview.
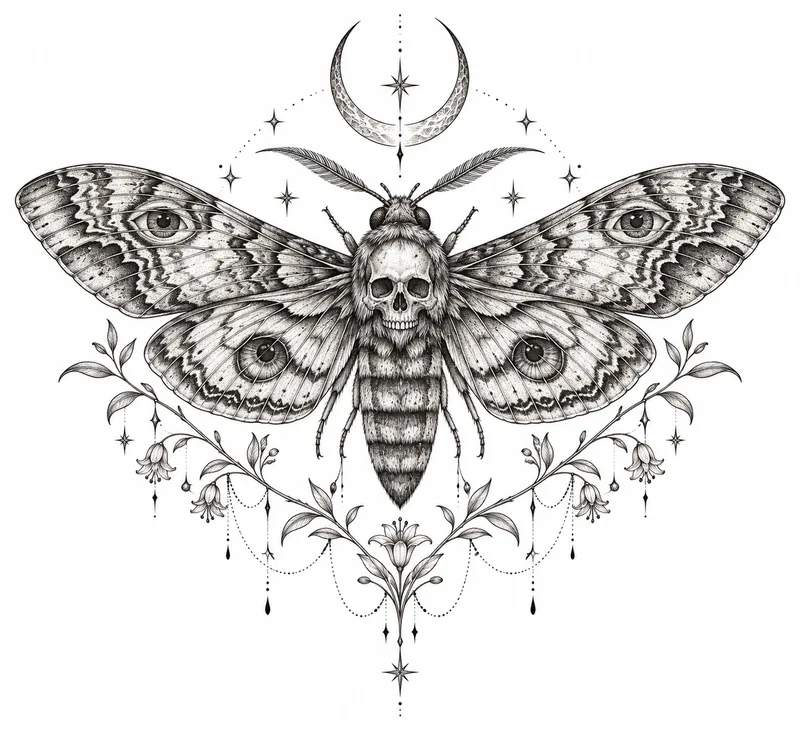
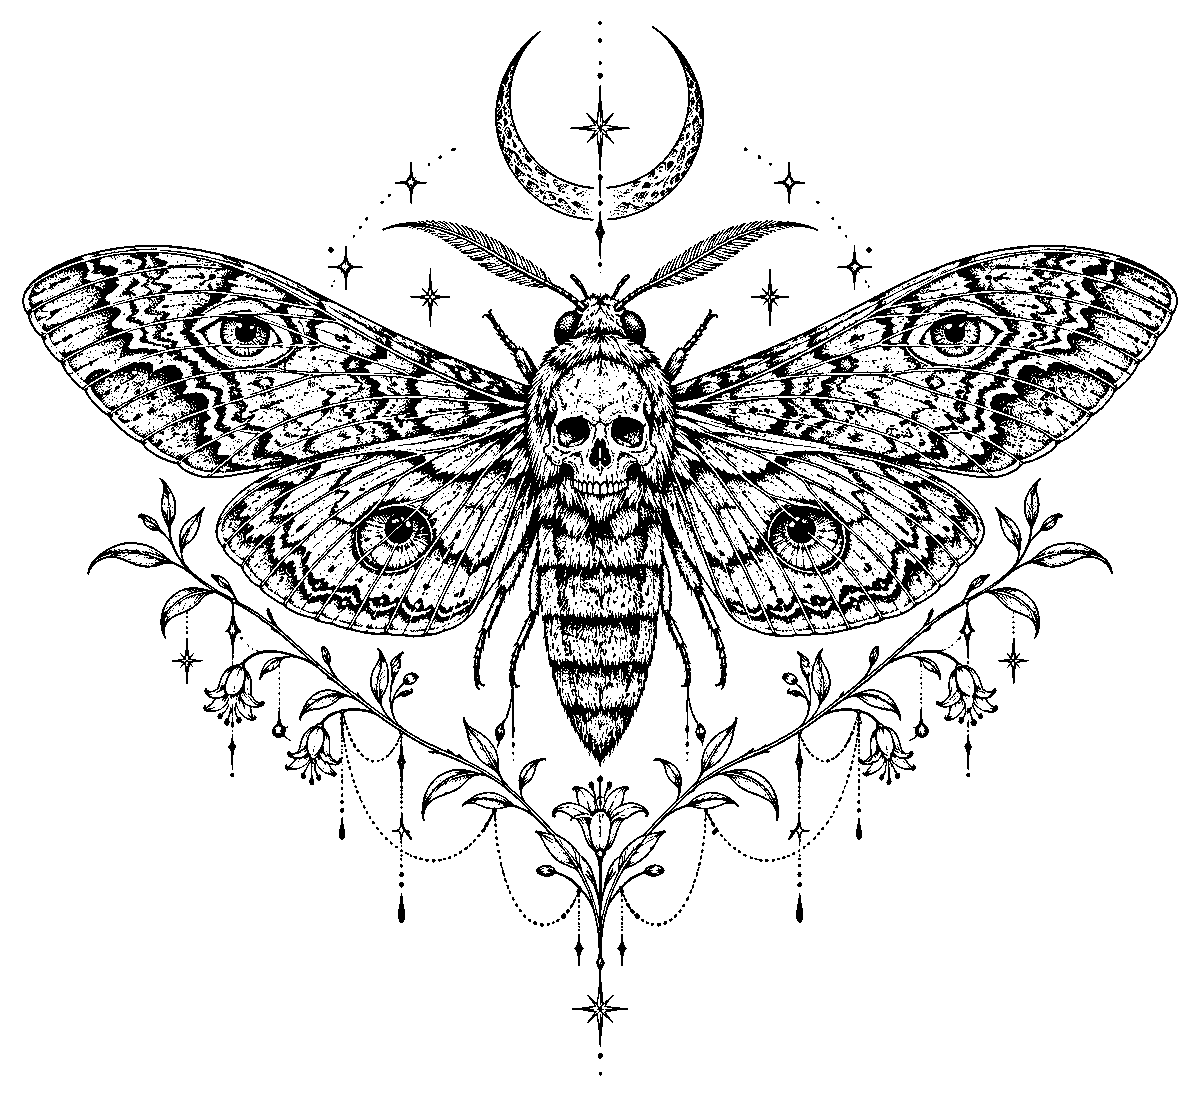
2. Refine the linework
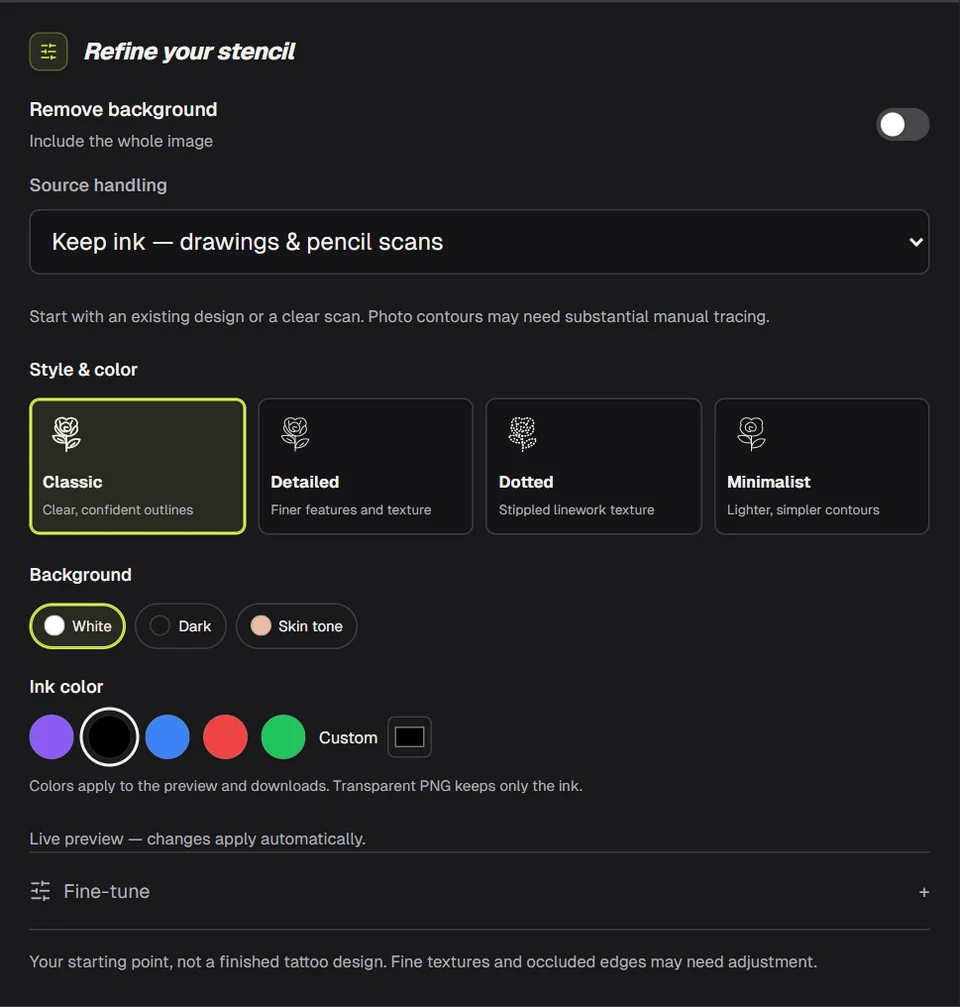
Start with Auto under Source handling, then choose a mode that fits your image.
- Keep ink follows existing lines in drawings and pencil scans.
- Single stroke makes line widths more even.
- Shape outlines traces the edges of solid black shapes.
- Photo contours gives you a tracing reference for a photograph. Inspect the result for missing edges and stray texture.
Under Style & color, try Classic for defined outlines, Detailed for finer features, Dotted for stippling, or Minimalist for simpler contours. Use Fine-tune to adjust line thickness, detail, contrast, sensitivity, or cleanup while watching the live preview.
Choose an ink and background color for the preview and downloads. Drag the divider in Your linework to check important details against the original.
3. Repair individual lines
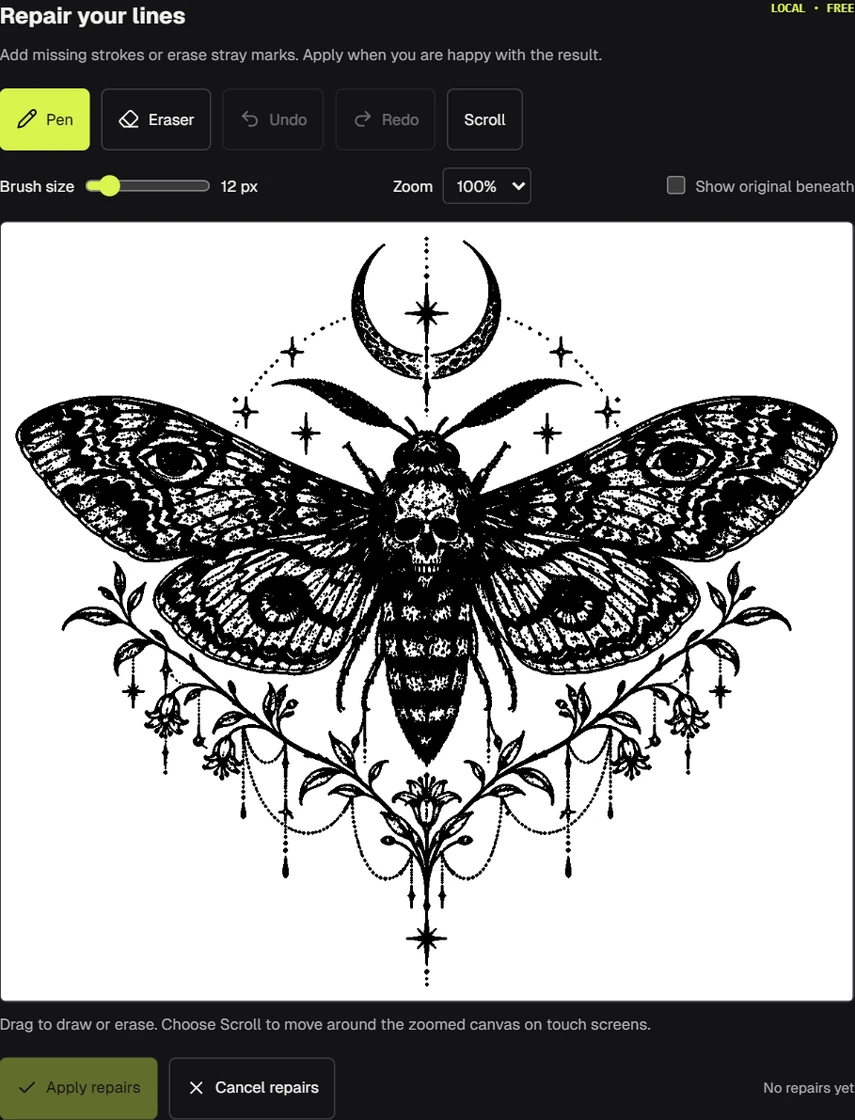
Select Repair lines above the preview. Use Pen to reconnect a broken contour or Eraser to remove a stray mark. Change Brush size or Zoom for tight details.
Turn on Show original beneath when you need a guide. On a touch screen, choose Scroll to move around the zoomed canvas. Use Undo or Redo to review changes before selecting Apply repairs.
Use Cancel repairs to discard the current edits. Once applied, your repairs are preserved and included in downloads. Reprocess and replace repairs explicitly generates a new stencil from the current settings.
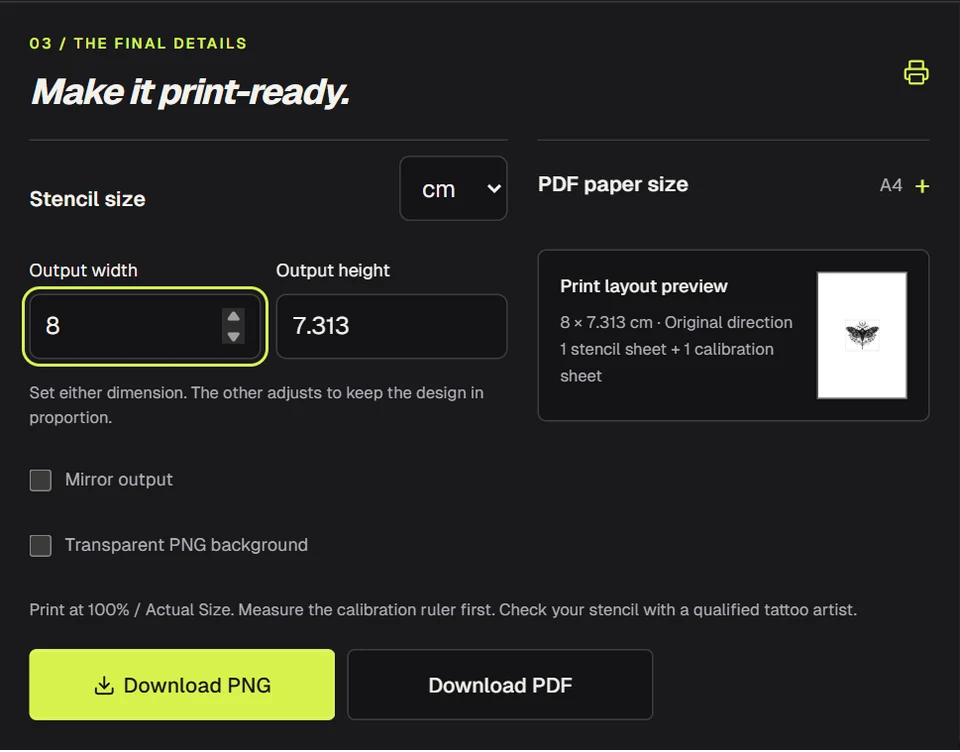
4. Set the size and download
In Make it print-ready, choose cm or inch and enter Output width or Output height. The other dimension adjusts in proportion. If the design exceeds your available space, set the dimension that exceeds the limit to its measured value.
Check Mirror output if your transfer method calls for it. Use text or an asymmetric detail to confirm direction, and check whether your equipment already mirrors the image.
- Download PNG for a 300 DPI image to use in another app. Enable Transparent PNG background to export the ink without its background.
- Download PDF to print at actual size. Set PDF paper size to match the printer and check the sheet count in Print layout preview. Designs that exceed one sheet tile automatically with 10 mm overlap.
Print the PDF at Actual Size or 100% and measure the separate calibration sheet first. See the actual-size tattoo stencil printing guide for the calibration and sheet assembly steps.